POV-Ray
POV-Ray(Persistence of Vision Raytracer) は、レイトレーシング(ray tracing) を主な手段として利用するコンピュータグラフィックス(Computer Graphics : CG)を作成するソフトウェアです。
テキストベースの定義ファイルでコンピュータグラフィックスを生成する点に特徴があります。
cf. http://www.povray.org/
POV-Ray デモCG作成
簡単なコンピュータグラフィックスを作成してみましょう。
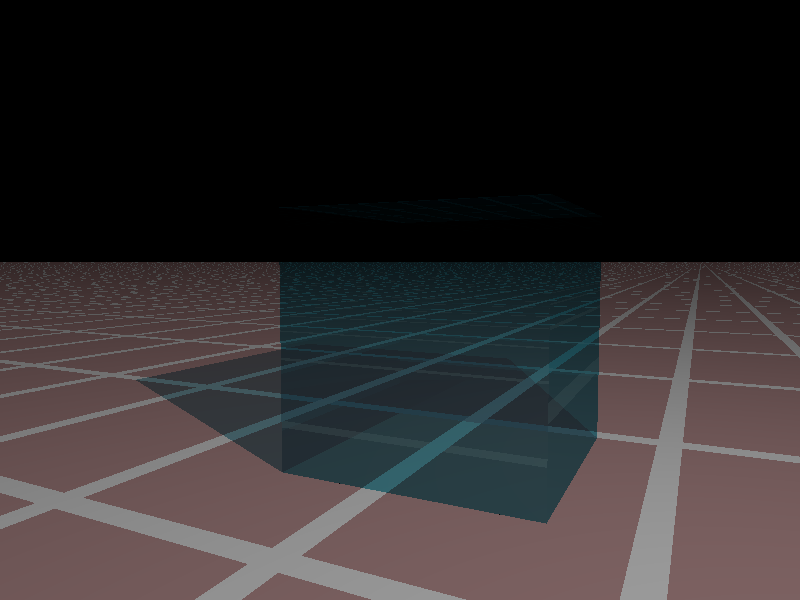
以下のソースを元に、CGを作成するとガラスのような透明感のある画像が作成されます。
$ povray demo.pov
設定内容としては、一般的な CG で設定するように、カメラの位置と向き、光源を設定し、平面と立方体を配置し、それぞれに模様や質感などの物性を設定します。
カラーや質感などは、既に用意されているものをインクルードファイルで読み込んで利用しました。
#include	"colors.inc"
#include	"glass.inc"

camera { location <14,4,7> look_at <0,3,0> }

light_source { <10,10,10> color White }

plane { y, 0
	pigment { brick color Gray50, color IndianRed }
}

box { <0,0,0>, <5,5,5>
	texture {
		pigment	{ Col_Glass_Dark_Green }
		finish	{ F_Glass1 }
	}
}
とても簡単に CG の作成が行えます。

プリズムのシミュレーション
普通のレイトレースでは、カメラの画素からの光の経路をトレースするのですが、POV-Ray では、光源からの光の経路をトレースできるようです。
すると、透明な物体を置けばプリズムのように光を分光する CG が作成できそうなのでトライしてみました。
以下に、ソースを示します。
#version	3.7;

global_settings {
	assumed_gamma	1
	max_trace_level	5
	photons {
		spacing	0.02
		count	1000000
		max_trace_level	9
		media	100, 2
	}
}

camera {
	location	<0, 20, 0>
	sky			<0,  0, 1>
	right		x*image_width/image_height
	look_at		<0,  0, 0>
	angle		20
}

light_source {
				<0, 20, 0>,
	color rgb 0.25
	photons { refraction off reflection off }
	media_interaction off
}

light_source {
				<-200, 0.5, 0>,
	color rgb	2
	spotlight
	radius		0.2
	falloff		0.2
	point_at	<0, 0.5, 0>
	photons	{ refraction on reflection on }
}

box	{ <-4, 0,-3>, <4, 1, 3>
	hollow
	texture	{ pigment { color rgbf 1 } }
	interior {
		media {
			scattering { 1, color rgb 1 extinction 0 }
			method		3
			intervals	10
			samples		10, 10
		}
	}
	photons	{ target }
}

difference {
	box {<-3.1, -1, -3>, < -3, 2, 3> }
	box { <-3.2, 0.2, -0.025>, < -2.9, 0.8, 0.025> }
}

prism {
	linear_sweep
	linear_spline
	0, 1,
	4, <-1, 0>, <0, 1.732>, <1, 0>, <-1, 0>
	texture {
		pigment	{ color rgb 1 filter 0.9 }
		finish	{ ambient 0.05 diffuse 0 reflection 0 roughness 0.001 }
	}
	interior {
		ior	1.5
		dispersion	1.1
		dispersion_samples	100
		media {
			scattering { 1, color rgb 1 extinction 0 }
			method		3
			intervals	10
			samples		10, 10
		}
	}
	photons { target reflection	no refraction yes }
	rotate	y*10
	translate <-1, 0, -1.2>
}
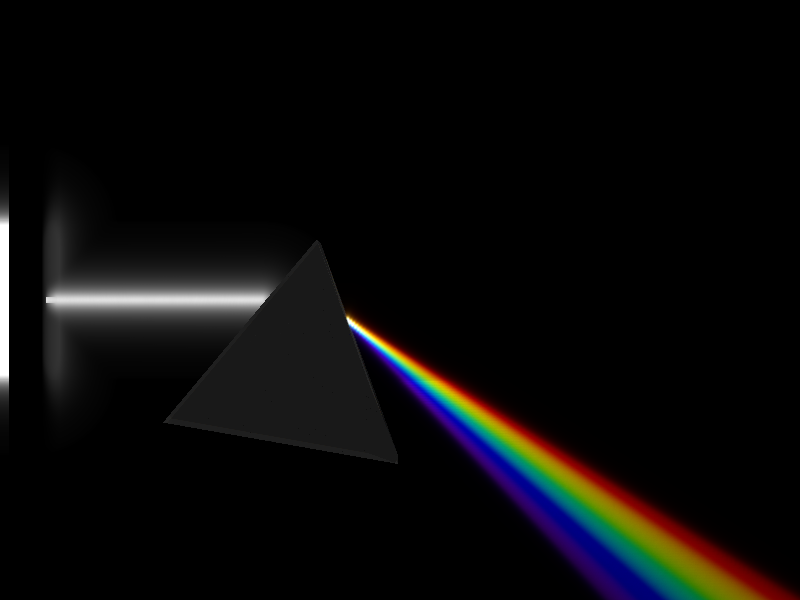
CG を作成すると、光源からスリットを通した光が、プリズムによって分光されているように見えます。

結構きれいにできました。
上述ソースの以下の部分を
rotate y*10
以下の様に変更し、
translate <0, 0, -0.577>
rotate  y*120*clock
translate <0, 0,  0.577>
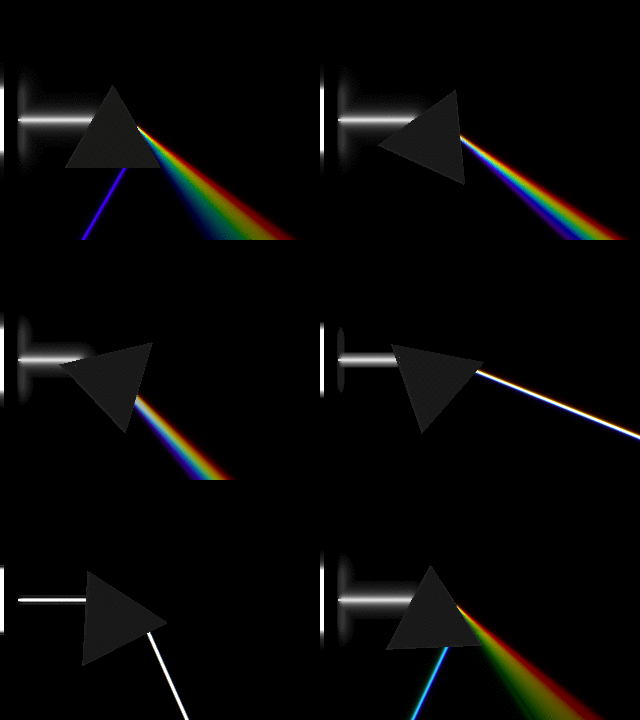
コマ撮りを実行して、
$ povray +W320 +H240 +KFF50 +FN prism.pov
連続で表示すると、
$ convert -delay 10 prism*.png prism.gif
アニメーションが作成できます。
